Table of Contents
- Save Your Stuff & Stay Safe (Inside)
- Finding Where the Water is Actually Coming From
- How to Tarp Your Roof (The Right Way)
- Insurance, Documentation, and Next Steps
- Final Thoughts
The "Too Long; Didn't Read" Summary
- Electricity + Water = Bad: If water is near lights or outlets, kill the main breaker immediately.
- Pop the bubble: If your ceiling paint is bulging with water, poke a hole in it to drain it into a bucket. It saves the drywall from collapsing.
- Stay off the roof: Do not go outside during lightning or high winds. It’s not worth it.
- Water travels: The hole in the roof is rarely right above the wet spot on the ceiling. Check the attic first.
- Sandwich the tarp: Don't just nail a tarp down. Wrap the edges in 2x4s so the wind doesn't rip it off.
- Photos first: Snap pictures of the damage before you clean up. Your insurance adjuster will thank you.
- Call a pro: Tarps are temporary. You need a real inspection to keep your warranty intact.
Save Your Stuff & Stay Safe (Inside)
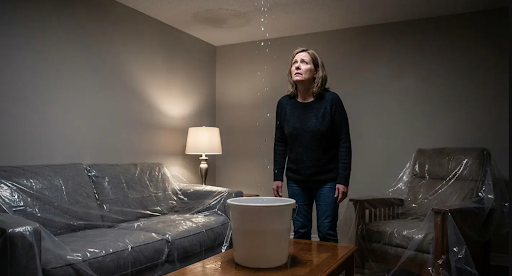
Panic is your enemy right now. When water starts dripping, don't run outside yet. We need to stabilize the inside of the house first. Managing the chaos in the living room minimizes the mess and keeps your family safe.
If you're feeling overwhelmed, check out our guide on the 6 steps to take when your roof starts leaking. It’s a good checklist to make sure you haven't missed anything obvious.
Speed matters here. Mold can start growing in 24 hours, and structural wood gets soft pretty fast after that. A small leak can turn into a massive renovation bill if you wait too long. Delaying
roof leak repair allows moisture to seep deeper into the structure WeatherShield Roofing. We have a short window to act before a $500 problem becomes a $50,000 disaster.
Managing the Water
Water is surprisingly heavy. When it pools on top of your drywall, it turns a small leak into a ceiling collapse. Your goal right now is to control where that water goes so it doesn't ruin your floors or furniture.
Relieve the Pressure (Pop the Bubble)
This sounds counterintuitive, but if you see a bubble forming in your ceiling paint, you need to pop it. If you leave it, the water weight will eventually pull the whole section of drywall down in a giant, messy crash.
Put a 5-gallon bucket underneath the bulge. Take a screwdriver or a pencil and poke a hole right in the center of the bubble. This lets the water drain out in a controlled stream rather than a sudden tidal wave.
Catching the Drips
A bucket works, but water splashes. If the leak is bad, try pinning a string to the spot where the water is dripping and running the other end into the bucket. The water will travel down the string via surface tension without splashing all over your baseboards and hardwood floors.
Safety First (Seriously)
We draw a hard line here. No roof is worth getting hurt over.
Emergency roofing scenarios are unpredictable and risky, especially for untrained homeowners. If you see any of these warning signs, back off.
Electrical Hazards
Water conducts electricity. If water is coming through a fan or a can light, that is an immediate emergency. Do not touch the switch. Go to your breaker panel and kill the power to that room before you do anything else.
Is the Wood Rotting?
Before you go poking around in the attic, look at the joists. If they are sagging or cracking, stay out. Waterlogged insulation is incredibly heavy and can snap wooden beams.
Ignoring this is dangerous. Not repairing a roof leak fast enough creates compounded damage. Just look at the Bridgwater Library, which had to close down because a leak turned into a structural nightmare.
Finding Where the Water is Actually Coming From
Finding the hole is rarely as simple as looking straight up. Water is tricky. It follows gravity and the path of least resistance, meaning the leak in your roof might be 20 feet away from the drip in your living room.
How Water Moves
We call this the "Rafter Run." You might have a wet spot in the bedroom, but the hole in the roof is way up near the peak. The water enters, runs down the wooden rafter, hits a nail or a knot, and *then* drops onto your insulation.
Track the Trail
Grab a flashlight and head to the attic (if it's safe). Look at the wood rafters. You are looking for a dark, wet trail that leads higher up toward the roof peak. Don't focus on the wet insulation; look up at the wood.
Check the Insulation
Even if it's not currently raining, the insulation tells a story. Look for fiberglass that looks matted down, flat, or dirty. That’s usually where the water is landing, even if the wood has dried out.
Attic Diagnosis
The attic is the safest place to be during a storm to assess the initial
storm damage. You can inspect the underside of the roof deck without getting rained on.
The Daylight Trick
During the day, go into the attic and turn off the lights. Look for pinpricks of sunlight coming through the wood. If you can see the sun, water can definitely get in.
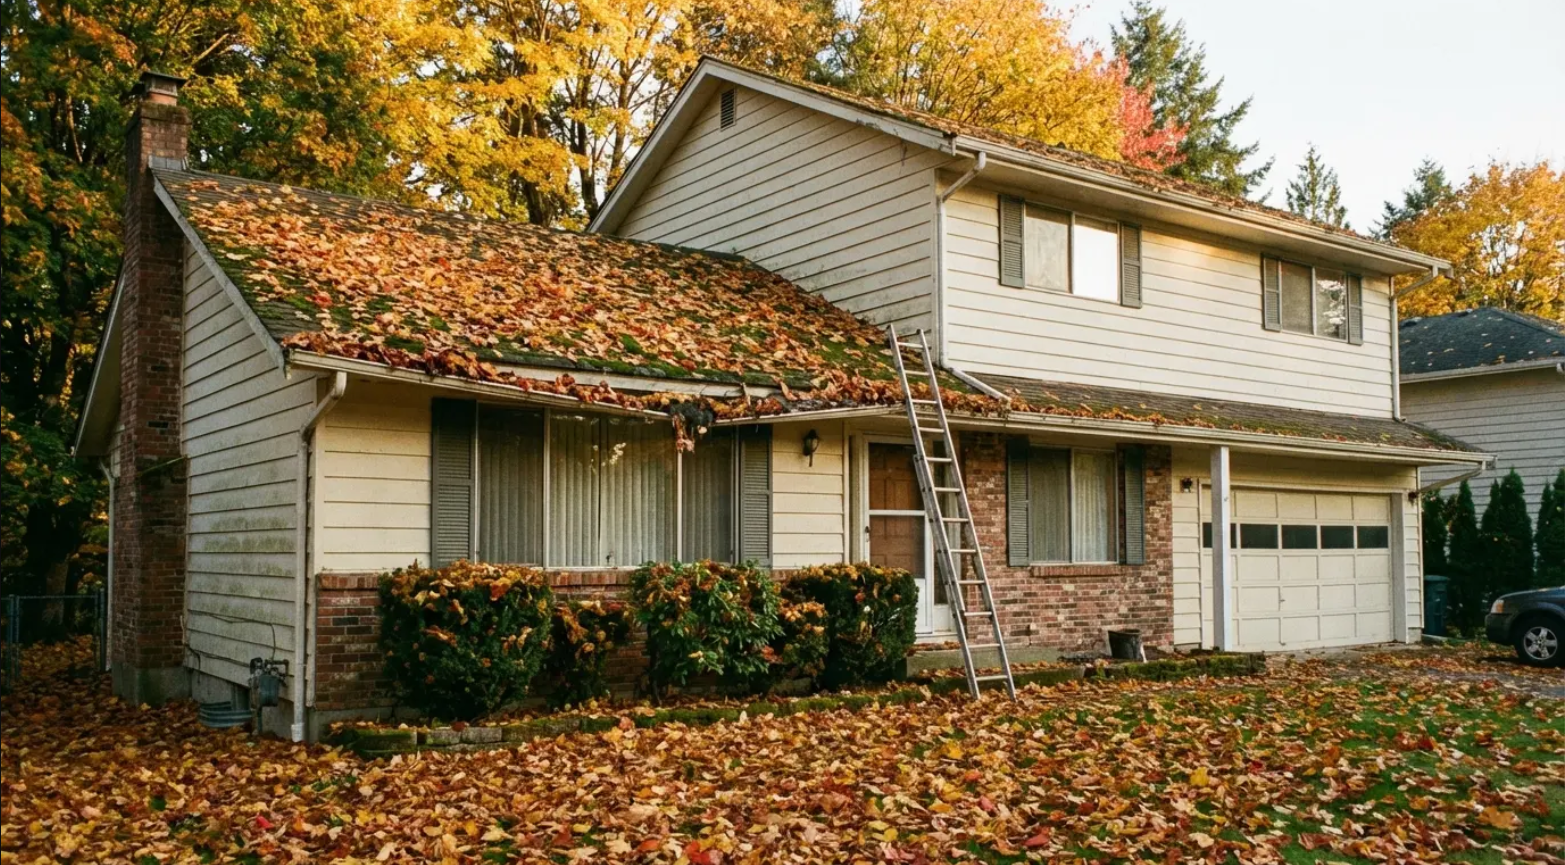
What to Look for Outside
Once the storm passes and the roof is dry, here is where you should check first. Don't waste time scanning thousands of shingles—focus on the "usual suspects."
- Chimneys and Pipes: The metal flashing around these things tends to rust or pull away. This is the most common failure point.
- Valleys: This is where two roof slopes meet. They handle a lot of water. If they are clogged with leaves, water backs up under the shingles.
- Gutters: If your gutters are full, water has nowhere to go but backward into your house.
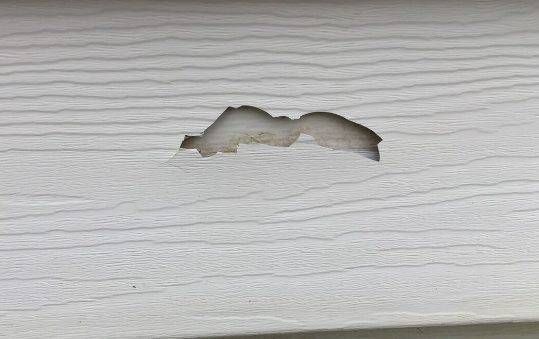
- Shingle Damage: Look for missing tabs, curled edges, or hail bruises. Even a missing nail head can let water in.
The Temporary Fix (How to Tarp Without Making it Worse)
If you have to stop the leak yourself, you need to do it right. Throwing a blue tarp up with some bricks won't work—the wind will turn that tarp into a sail and blow it into your neighbor's yard.
If it is still raining, please read our guide on how to stop a leak in the rain safely. Wet roofs are like ice rinks.
What You Need:
- Rubber-soled shoes (grip is everything)
- A sturdy extension ladder (set to the proper angle)
- A thick woven tarp (don't use the cheap painter's plastic; get something at least 6 mil thick)
- 2x4 Lumber (about 4 to 6 boards)
- Cap nails or screws
- A buddy (Never, ever go up alone)
The Sandwich Method
This is the industry standard for
emergency roof tarping. Do not nail through the tarp directly. The wind will rip the grommets right out.
Instead, wrap the edge of the tarp around a 2x4 board several times. Then, screw the 2x4 *through* the tarp and into the roof. This distributes the tension evenly and keeps the tarp tight.
Go Over the Peak
If possible, take the tarp all the way over the peak (ridge) of the roof and secure it on the other side. If you just tape the top edge down on the slope, water will eventually run underneath it. Going over the peak uses gravity to your advantage.
Quick Patches
If the hole is small, you might not need a massive tarp.
- Roof Cement: You can buy a tub of "wet-patch" flashing cement at the hardware store. It sticks even when the surface is damp. Use a trowel to seal down a loose shingle.
- Sheet Metal Slide: If a branch punched a hole in your roof, slide a piece of sheet metal under the shingle above the hole, and glue it down with roofing cement. It acts like a temporary shingle.
Insurance, Documentation, and Next Steps
The emergency fix is just a pause button. Now you have to deal with the paperwork and the permanent repair.
Be prepared for the cost. Emergency repairs usually run between $379 and $1,755 depending on the severity.
Document Everything
Insurance companies love proof. You need to show that this damage was sudden (a storm) and not just years of neglect.
Check out our guide to roofing insurance claims for the nitty-gritty details.
Take "Context" Photos
Don't just take a close-up picture of a wet spot. Stand back. Take a photo of the whole room showing the water, the bucket, and your ruined rug. Then take the close-up. This narrative helps prove the timeline. Keep a log of when the leak started and what you did to stop it.
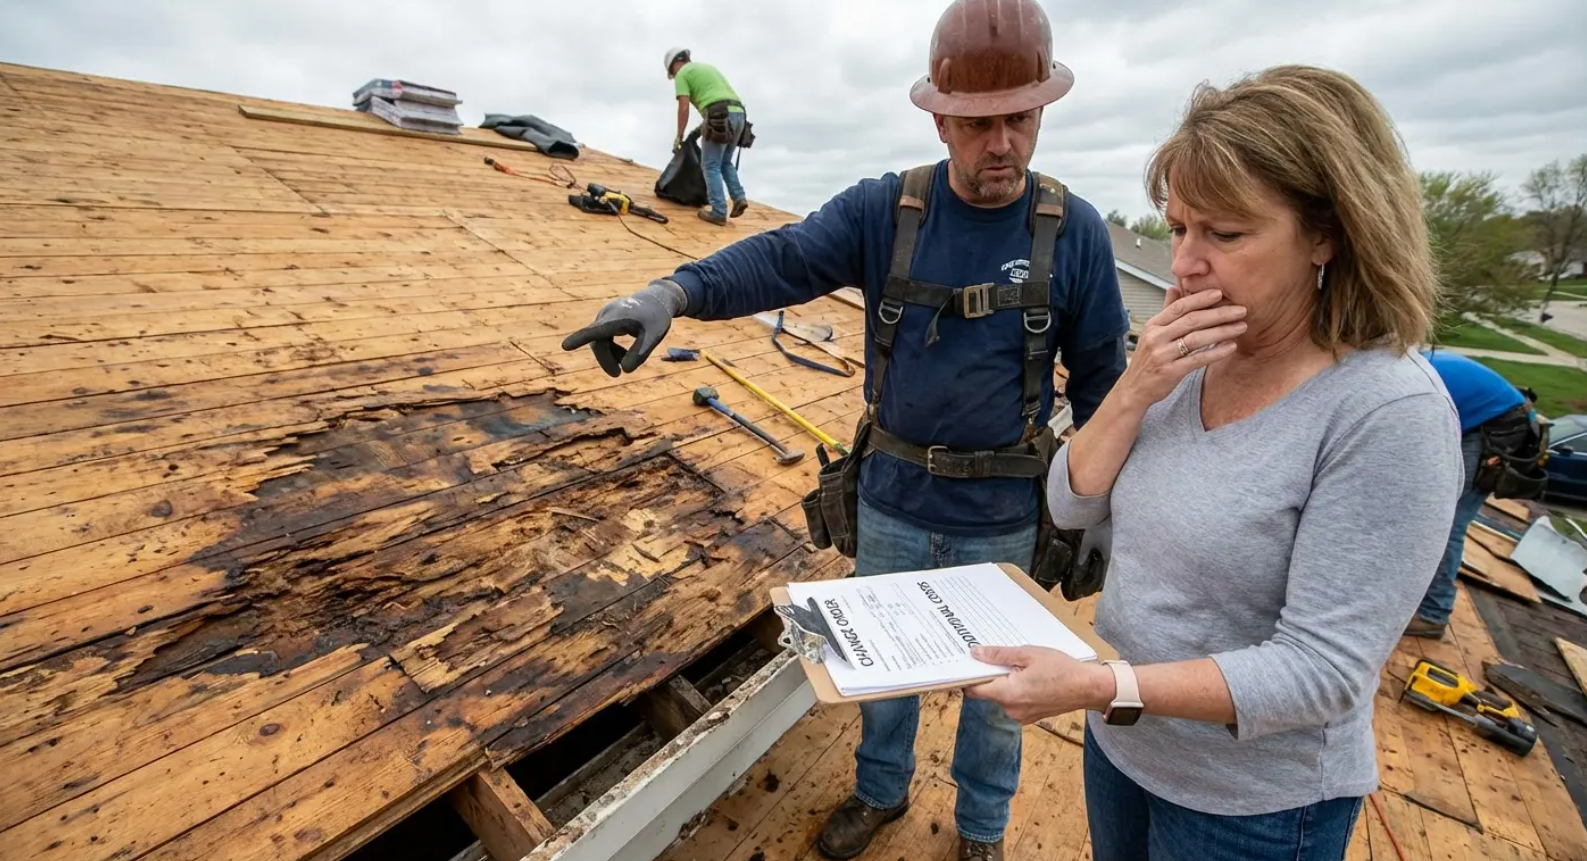
Call a Professional
You need a pro to tell you if this is a simple patch job or if your roof is totaled. Be careful of "storm chasers" who knock on your door right after a bad storm. Look for locals with real offices and licenses. You need a trusted
roofing contractor to provide an honest assessment.
If the cost is scary, look for local help. Programs like the one in Clark County sometimes offer grants for emergency repairs.
How Joyland Roofing Can Help
We know this is stressful. We aren't just here to patch a hole; we're here to help you figure out the next steps. Whether you need help with insurance paperwork or just an honest opinion, we’ve got you covered with real
emergency roof repair solutions.
Final Thoughts
Dealing with a leaking roof in the middle of a storm tests your patience. You’ve done the hard part—you stopped the water and protected your home. But don't let a temporary tarp become a permanent solution. Reach out to us at Joyland Roofing for your
emergency roof repair, and we’ll make sure your roof is solid long after the rain stops.