
Instant roof quote tools are fast but often miss roof pitch, ventilation, and hidden damage that can significantly change the true cost of roof replacement.
Mansard roof design helps you unlock extra space and stay within zoning limits. Understand the pros, risks, and key construction details before building
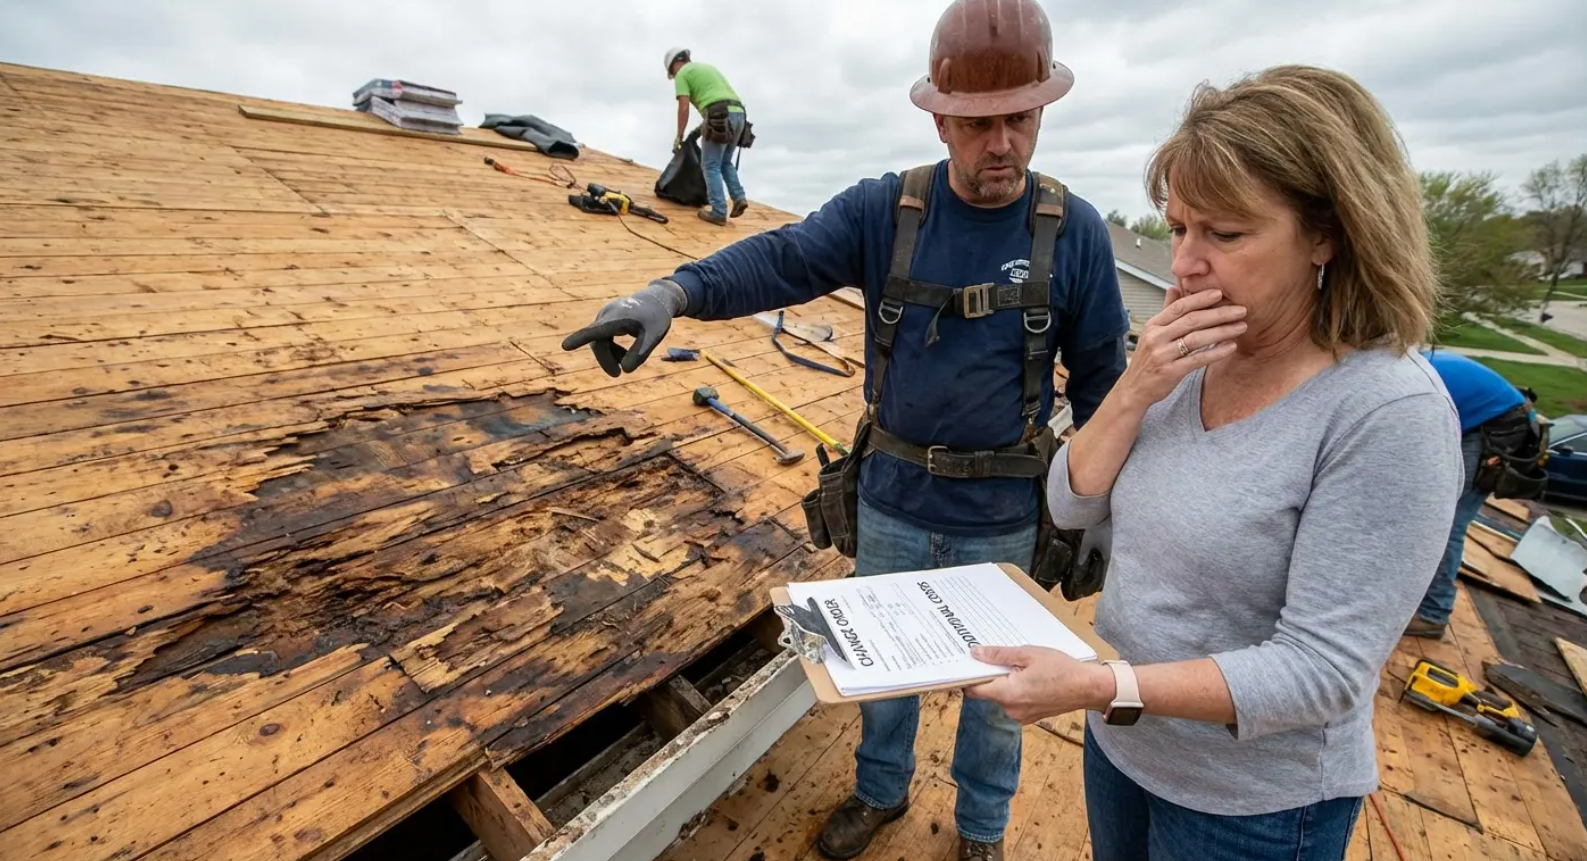
Modern roof design has become a performance system, not just a weather barrier. Learn what thermal bridging, drainage architecture, and material sequencing mean for your home's energy costs and longevity.
Lean to roof design creates unique structural, drainage, and thermal challenges most contractors miss. Learn what actually causes failures — and how to build a lean to that lasts decades.
The best black roof house color ideas go far beyond safe gray and white. Discover bold palettes, undertone strategy, and testing methods that actually work for your black roof house.
Dormer roof design failures happen where you can't see them. Learn the structural, drainage, and ventilation realities that determine whether your dormer lasts decades or fails in five years.
Discover flat roof patio ideas that actually work — from structural load checks and waterproofing to materials, drainage, privacy, and plants that survive rooftop conditions.
Parapet roof design failures rarely start where you expect. Learn the flashing details, thermal movement risks, and drainage plane problems that cost property owners thousands.
Cantilever roof overhang design failures come from rotational stress, snow load miscalculations, and fascia myths. Learn what your builder isn't telling you.
Dutch gable roof design done wrong costs thousands. Learn proportions, flashing, structural load paths, and maintenance realities before you build.