
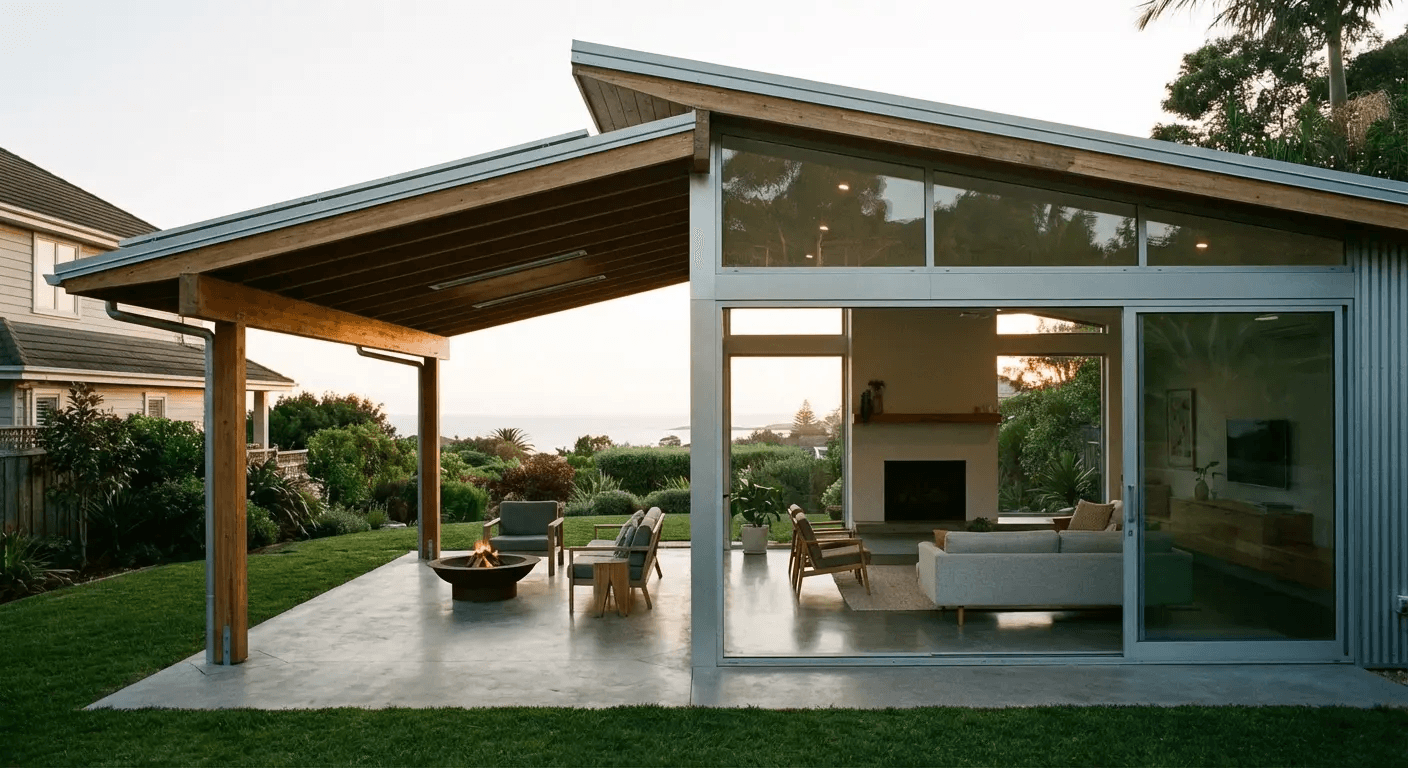
A lean-to roof is a single roof plane that slopes in one direction. This straightforward design is commonly used over additions, patios, porches, carports, sheds, and other spaces where a traditional roof shape may not be practical.
Although lean-to roofs look simple, several details affect how well they perform. The pitch determines which roofing materials can be used. The framing must account for the span, roofing weight, snow, wind, and the structure supporting it. Gutters and downspouts must handle water from the entire roof area, and an attached lean-to needs a properly designed roof-to-wall connection.
In south-central Pennsylvania, snow, heavy rain, freeze-thaw conditions, and local building requirements should all be considered before the design is finalized.
If you are replacing the roofing on an existing lean-to, Joyland Roofing can evaluate the roof covering, drainage, flashing, and roof-to-wall connection. Designing a new addition or supporting structure may also require a qualified builder, designer, or structural professional.
What Is a Lean-To Roof?
A lean-to roof has one continuous roof plane that slopes in a single direction. It may also be called a single-slope, shed, or mono-pitch roof.
When a lean-to roof is attached to a house or another building, its higher edge typically connects to the existing structure while the lower edge directs water toward an eave, gutter, or other drainage point. The same basic roof shape can also be used on a freestanding shed or accessory building.
Lean-to roofs are commonly found over:
- Home additions
- Porches and patios
- Carports
- Sheds and garages
- Other attached or freestanding accessory structures
A basic lean-to roof does not have the ridge, hips, or valleys found on more complex roof shapes. That simpler geometry can reduce the number of roofing transitions, but it does not eliminate the need for proper structural support, drainage, flashing, and a roofing material approved for the roof’s pitch.
How Drainage Works on a Lean-To Roof
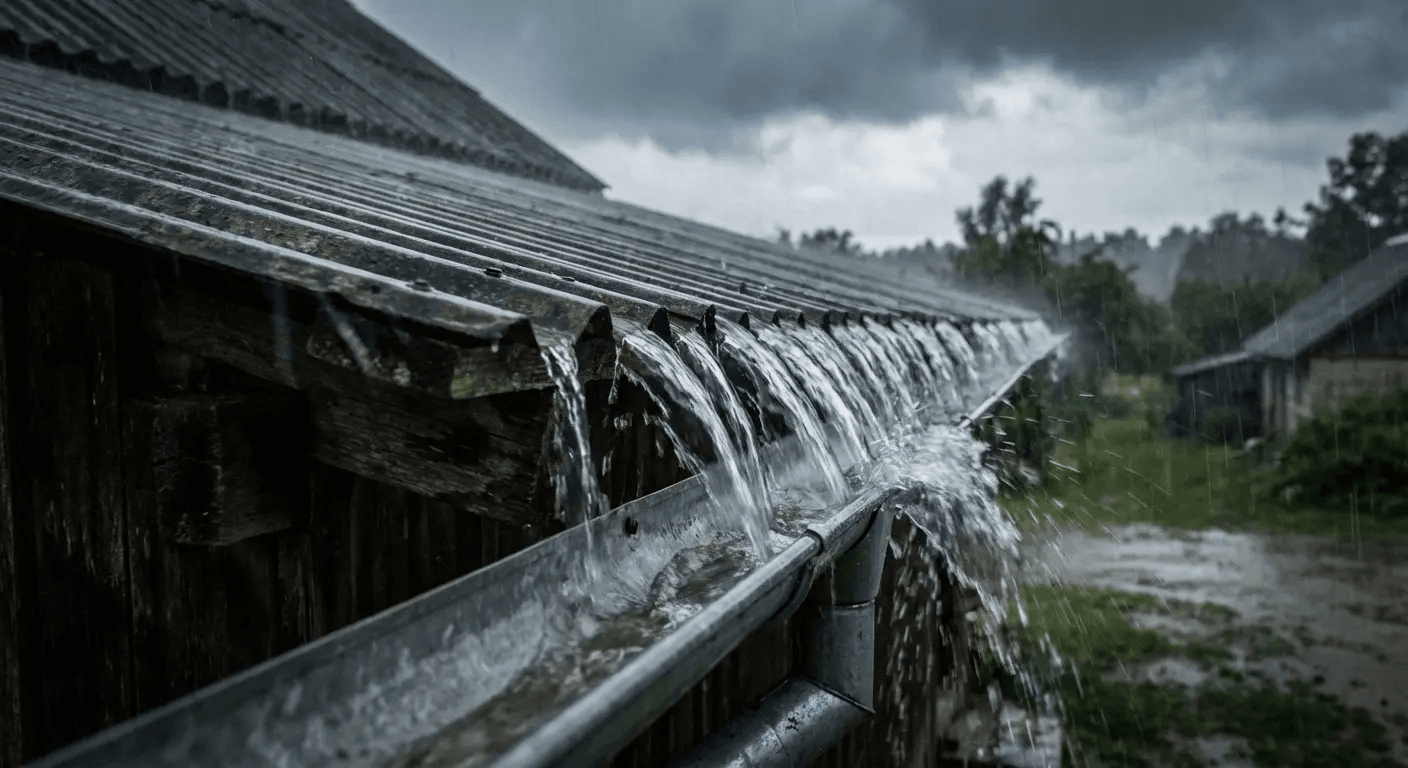
On a basic lean-to roof, rainwater travels down one roof plane toward the low edge. That makes the direction of drainage straightforward, but the water still needs somewhere safe to go once it gets there.
If the roof has a gutter, the gutter and downspouts should be sized for the area draining into them. The right setup depends on factors such as:
- The size and pitch of the roof
- The roofing material
- Local rainfall
- The gutter profile and placement
- The number and size of the downspouts
- Whether another roof section also drains onto the lean-to
- Where the downspouts discharge the water
A lean-to roof does not automatically need 6-inch gutters or a specific number of downspouts. Those decisions should be based on the roof and the amount of water the drainage system needs to handle.
Water should also be directed away from foundations, entrances, walkways, and areas where it could cause erosion or collect during freezing weather. The roof and seamless gutter system should be evaluated together instead of treating the gutter as an afterthought.
Where the Lean-To Roof Meets the Wall
On an attached lean-to, the upper edge of the roof commonly meets an exterior wall. This transition needs flashing that directs water onto the roof surface instead of allowing it to enter behind the roofing or wall covering.
The correct flashing detail depends on the roofing material and the direction of the wall intersection. With asphalt shingles, headwall flashing is used where the upper end of the roof meets a wall. Step flashing and counterflashing are used where the sloped edge of the roof runs alongside a wall. Metal and membrane roofing systems use details specified for those particular products.
The flashing also needs to work with the roof underlayment, siding, and water-resistive barrier behind the exterior wall covering. Surface caulk alone should not be treated as a complete roof-to-wall flashing system.
If an existing lean-to is leaking near the building, the roofing, flashing, siding, underlayment, gutters, and nearby penetrations may all need to be evaluated. The place where water appears inside is not always the place where it entered.
Choosing a Roofing Material for a Lean-To Roof
The best roofing material for a lean-to depends heavily on the roof’s pitch. Each roofing product has a minimum allowable slope and its own requirements for the roof deck, underlayment, seams, fasteners, and flashing.
The roof’s pitch should be measured before the material is selected. A product should not be installed below the minimum slope listed by its manufacturer, even if a similar-looking roofing system can be used at that pitch.
Asphalt shingles
Asphalt shingles can be used on many lean-to roofs, but the roof cannot be too shallow.
GAF allows nearly all of its asphalt shingles on roofs with a slope of at least 2:12. Roofs from 2:12 to under 4:12 require a special low-slope underlayment application. Other manufacturers may have different instructions, so the requirements for the selected shingle must be checked before installation.
Learn more about GAF’s minimum-slope requirements for asphalt shingles or review Joyland’s asphalt shingle roofing options.
Metal roofing
Standing seam and exposed-fastener metal are different roofing systems with different slope requirements.
Some standing seam systems are designed for low-slope applications, while others require a steeper roof. Exposed-fastener panels also have product-specific requirements for slope, panel laps, sealants, and fastener placement.
There is no single minimum pitch that applies to every metal roof. The exact panel manufacturer and installation instructions must be identified before deciding whether a metal system is appropriate.
See the differences between Joyland’s standing seam and exposed-fastener metal roofing options.
Membrane roofing
EPDM, TPO, and other membrane systems are commonly used on low-slope roof sections where asphalt shingles are not appropriate.
The correct membrane system depends on the roof deck, drainage, insulation, flashing, and how the lean-to connects to the adjoining structure. These systems still require positive drainage and installation according to the manufacturer’s specifications.
Learn more about residential flat and low-slope roofing.
Does a Lean-To Roof Use Less Material?
The simple shape of a lean-to can reduce the number of cuts and transitions compared with a roof containing hips, valleys, or several separate sections. That does not guarantee a specific amount of savings.
Material waste depends on the roof dimensions, panel or shingle layout, required overlaps, overhangs, penetrations, flashing, and the sizes in which the selected materials are supplied.
Per-square-foot pricing can also be misleading on a small lean-to. Setup, minimum material quantities, custom flashing, tear-off, and roof-deck repairs can make a small roof section cost more per square foot than a full roof replacement.

How an Attached Lean-To Roof Is Supported
Not every lean-to roof is supported in the same way. Some are structurally connected to an existing building, while others use posts and beams to support the roof independently.
When the existing building supports part of the lean-to, the connection must transfer the roof loads into framing capable of carrying them. Those loads can include the weight of the roof itself, snow, wind uplift, and other forces required by the project’s structural design.
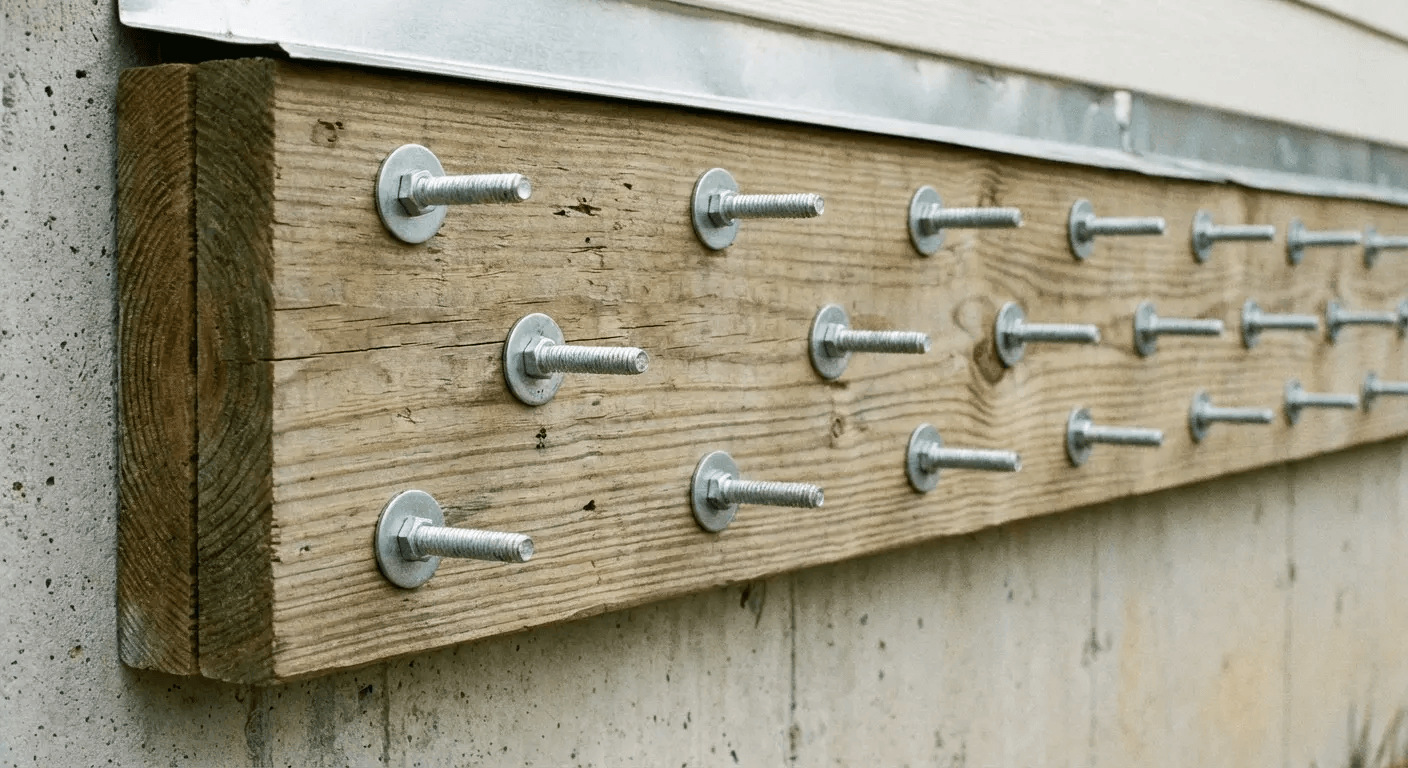
The connection is also one part of a larger load path. Roof loads must be transferred through the supporting walls, beams, posts, and foundations to the ground. A strong ledger connection does not solve the problem if the structure supporting it is inadequate.
Can a Lean-To Simply Be Bolted to the Wall?
There is no universal bolt type, fastener spacing, or ledger detail that works for every lean-to.
Connection capacity can change based on:
- The roof span and expected loads
- The wall’s construction and condition
- The framing available at the connection
- The type and thickness of the connected materials
- The fastener type and installation method
- Windows, doors, overhangs, or other interruptions in the wall
- Whether the roof uses a ledger or independent posts and beams
Fasteners cannot be assumed to be adequate simply because they pass through siding or sheathing. They must connect to materials and structural framing identified in the project’s design.
The American Wood Council’s Connection Calculator accounts for different fasteners, materials, loading directions, and connection types. That is exactly why a generic bolt-spacing recommendation should not be copied from an article and applied to a house.
Does the Existing Building Need Reinforcement?
Possibly, but not automatically.
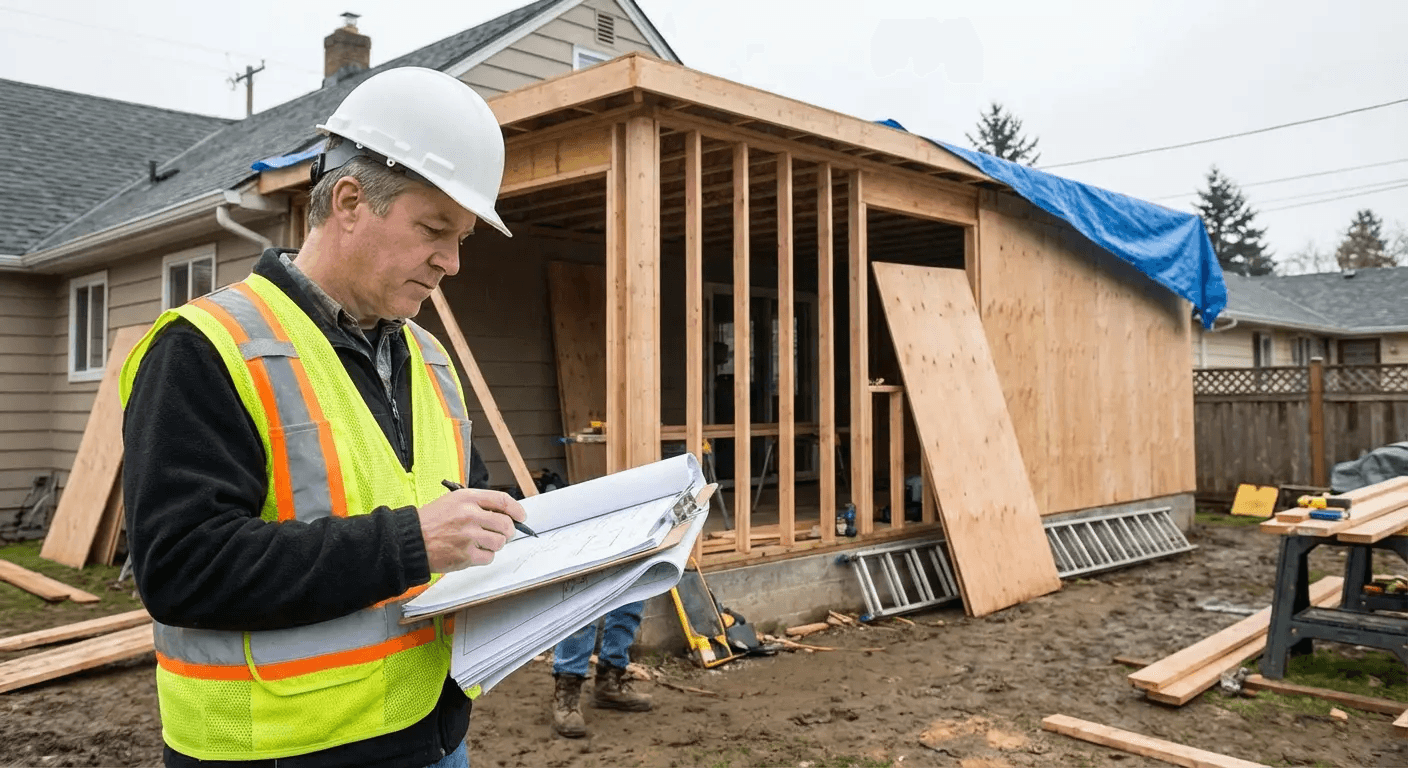
A qualified builder, designer, or structural professional may need to evaluate the existing framing before an attached lean-to is built. Reinforcement or an independently supported design may be recommended when the existing structure cannot safely support the proposed roof or when the available framing cannot be verified.
A standard roofing inspection can identify visible roofing, flashing, drainage, and deterioration concerns. It should not be presented as a substitute for a structural evaluation of a new addition
You need to clarify the classification before you design. If you design for one classification and your building department determines you're in the other category, you might need to redesign and re-engineer significant portions of your project.
Snow Load Peculiarities
Building codes include specific provisions for snow accumulation on single-slope roofs adjacent to walls. These provisions recognize that snow slides down your lean-to and piles up at the low edge, creating concentrated loads that exceed typical snow load calculations.
The math gets complicated. You're not just calculating snow load on your roof surface. You're calculating potential drift accumulation, sliding snow impact loads, and unbalanced load conditions. Your ledger board, through-bolts, and wall structure need to handle not just the weight of the snow, but also the lateral thrust that snow weight generates on a single-slope system. The combination can exceed your attachment capacity if you've only designed for typical roof loads.
Thermal Performance in Lean-To Configurations
The unique thermal challenges lean-to roofs create require attention beyond conventional roof insulation strategies. Single-slope orientation affects solar heat gain. Lean-tos often create thermal bridging problems at the attachment interface. Attic ventilation requirements change in lean-to applications. Many lean-to additions become the hottest or coldest rooms in a house despite adequate insulation — and all of this traces back to managing thermal issues during the lean to roof design phase rather than trying to retrofit solutions later.
The Solar Exposure Problem
Orientation matters enormously in lean-to design, yet most people choose their slope direction based on aesthetics or drainage convenience.
If your lean-to slopes toward the south (in the Northern Hemisphere), you're creating a massive solar collector. A south-facing lean-to roof absorbs significantly more solar radiation than a conventional roof because the entire surface is exposed to direct sun for longer periods. You can see temperature differences of 20-30 degrees between a south-facing lean-to roof and a north-facing one during peak summer conditions.
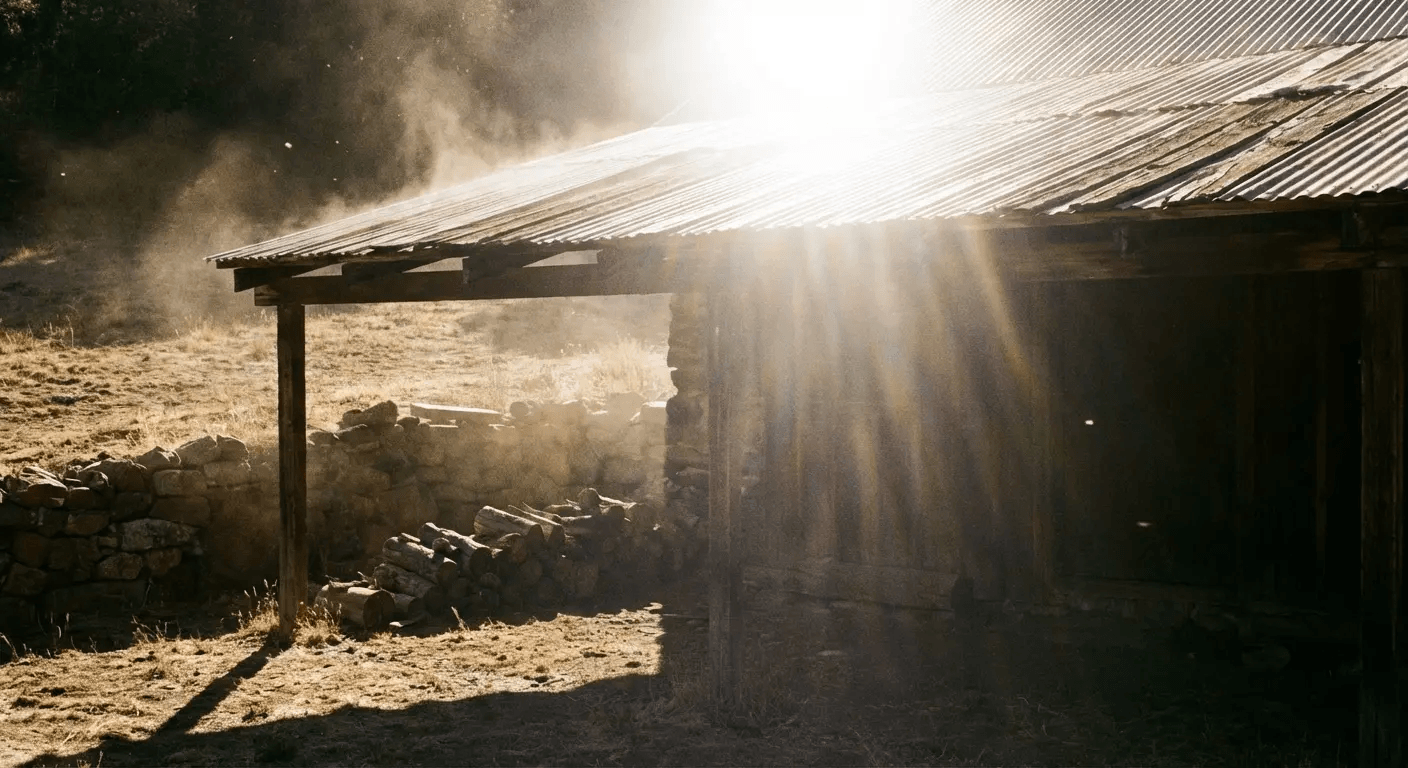
North-facing lean-tos create opposite problems. Reduced solar gain means they stay cooler in summer but also receive less passive heating in winter. These surfaces are also more prone to ice dam formation because they don't benefit from solar melting. Understanding why your home needs appropriate roof venting becomes especially relevant in lean-to configurations where standard attic ventilation strategies don't directly apply.
The Thermal Bridge at the Connection
Your ledger board creates a direct thermal connection between your conditioned lean-to space and the exterior. Heat flows through that connection in winter, cold flows through in summer. The effect is worse than you'd expect because the ledger is usually solid lumber (high thermal conductivity compared to insulated wall cavities) and it runs the entire length of your lean-to.
You can mitigate this with thermal breaks, but they complicate your structural connection. Most people don't realize this thermal bridge exists until they notice cold spots, condensation, or ice buildup along the high wall of their lean-to. By then, you're looking at retrofit solutions that are expensive and only partially effective. Addressing thermal bridging during lean to roof design is far cheaper than any retrofit approach.
How to Future-Proof Your Lean-To for Expansion
Modern lean-to roof design is increasingly influenced by trends toward multi-functional outdoor spaces. Contemporary applications range from elegant dining conservatories to greenhouse extensions with polycarbonate panels, demonstrating how lean-to structures are evolving beyond simple storage to become integral living spaces. Homeowners are increasingly converting open lean-to structures into enclosed, conditioned spaces — making future-proofing during initial construction more critical than ever.
Building in Structural Capacity You Don't Need Yet
You're building a lean-to roof over an open patio today. Five years from now, you might want to enclose that space and add heating. If you've only designed your structure for roof loads, adding walls and the associated dead load might exceed your foundation and framing capacity.
Adding structural capacity costs relatively little during initial construction. Upsizing your foundation from a 12-inch footing to a 16-inch footing might add a few hundred dollars. Upgrading later requires excavation, underpinning, and potentially temporary support of your existing roof. That's thousands of dollars.
The same principle applies to framing. Using 2x8 rafters instead of 2x6s (if your current loads only require 2x6s) costs incrementally more now but provides capacity for future ceiling finishes, insulation upgrades, or load increases from solar panels.
You need to balance future-proofing against overbuilding. The key is identifying likely modifications and building in capacity for those specific scenarios. Whether you're working from formal lean to shed blueprints or drawing your own lean to shed plans, a note to your structural engineer about potential future enclosure can meaningfully change the design without meaningfully changing the cost. Proactive planning also helps improve the lifespan of your commercial roof — the principle of building with the future in mind applies equally to residential lean-to additions.
The Utility Rough-In Question
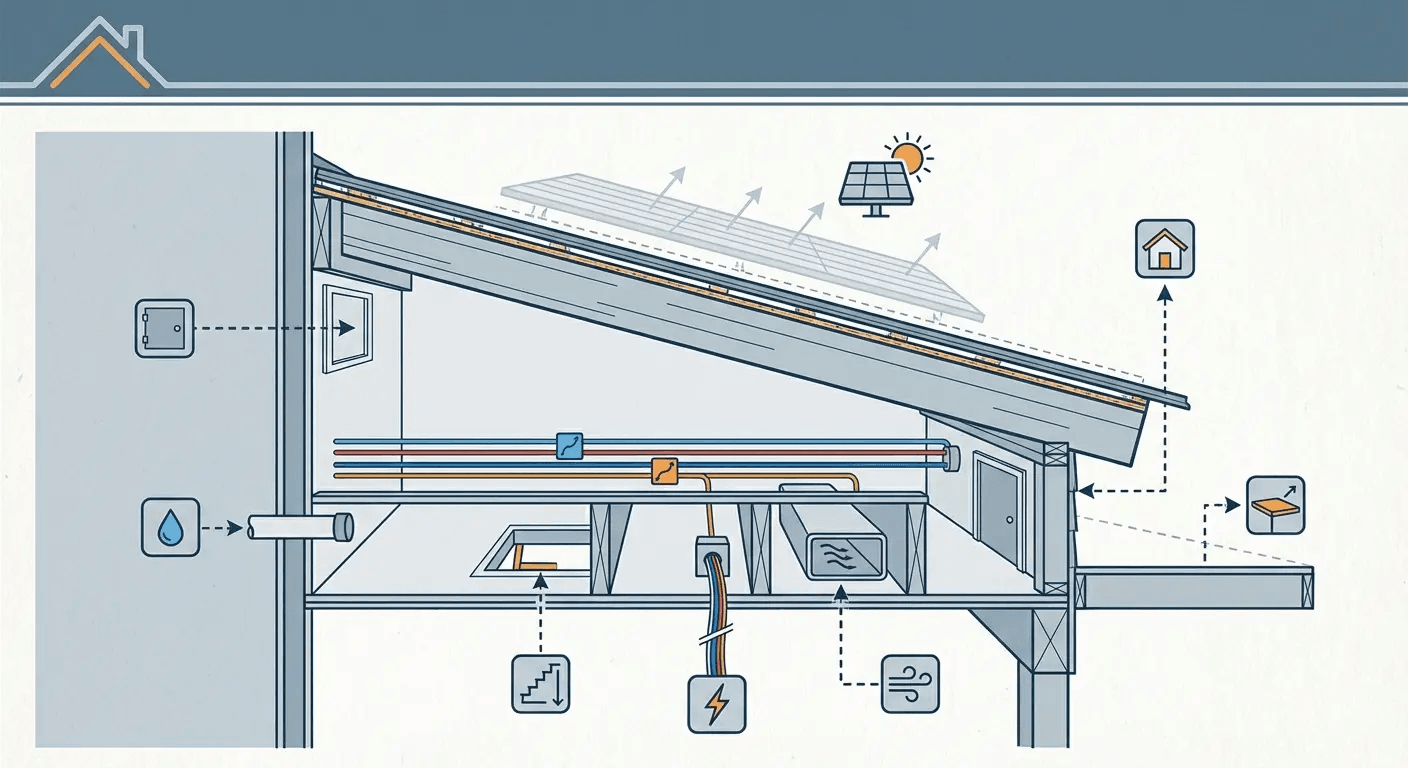
Running electrical or plumbing to your lean-to after construction means surface-mounted conduit, exposed pipes, or cutting into finished walls and ceilings. Running those utilities during initial construction (even if you're not connecting them immediately) costs a fraction of retrofit work.
Electrical is almost always worth it. Running conduit to potential outlet locations, switch positions, and lighting fixtures costs very little when you're already framing and finishing. Future electrical work becomes pulling wire through existing conduit rather than fishing wire through finished walls.
Plumbing is more situational. If there's any possibility your lean-to becomes a bathroom, kitchen, or utility space, roughing in drain lines during construction saves enormous hassle later. Drain lines require slope and often need to run under slabs or through foundations. Adding them after concrete is poured is expensive and sometimes impossible without major demolition.
Access Points and Future Modifications
Your lean-to design should include practical access for future work — attic access, crawl space access, and removable panels or access doors at critical junctions.
The high-wall connection particularly needs consideration. This is where your flashing, structural connections, and utilities all converge. It's also the most likely location for future problems or modifications. If you can build in access to this area, you'll save yourself significant trouble when you need to inspect, repair, or modify these systems.
Future expansion also depends on leaving space. If your lean-to sits right on your property line, you can't expand it laterally. Sometimes the best future-proofing is simply positioning your initial structure to allow for additions — and that requires thinking beyond your current project to how your entire property might develop over time.
How Joyland Roofing Can Help
If an existing lean-to roof is leaking, deteriorating, or ready for replacement, Joyland Roofing can evaluate the roofing material, drainage, flashing, and roof-to-wall connection.
Structural framing, addition design, and permitting may require coordination with a qualified builder, designer, or structural professional. Our role is to help ensure the roofing portion of the project is properly selected and installed for the structure's conditions.
Final Thoughts
A successful lean-to roof design goes beyond creating a single sloped surface. The roof pitch, supporting structure, drainage, flashing, insulation, and roofing material all need to work together.
When those details are planned correctly, a lean-to roof can provide a practical and durable solution for an addition, patio, carport or accessory structure.
John Esh | CEO & Master Installer
- 25+ Years Experience: From ground crew to Master Certified Installer.
- Local Roots: Serving Lancaster, Harrisburg, and SEPA since 1991.
- Credentials: GAF Master Certified (ME27586); Licensed in PA (PA124258) & MD (#137952).
- The "Why":
Obsessed with "radical transparency" to remove the fear factor from home improvements.
James Wesser | Content Producer
- Background: Former local news digital producer and journalist.
- The Mission: Turning complex roofing jargon into clear, "fluff-free" answers for homeowners.
- Local Tie: When not filming on-site, he’s likely roaming Hersheypark or building digital worlds.